
I love to capture this type of photo. With some post process in Photoshop, i was satisfied with the output in the end. Few tips i want to share on how to capture sunrise shot. I'm no expert, but more or less, this is what i always do before i take this kind of shot:
1. If possible, survey the area before you shoot. (where the sun rise/ fall, interesting spot, etc)
2. Tripod is essential. Small tripod like gorillapod will. (please consider you camera weight for optimum result)
3. Get on the ground early or you may miss the moment.
4. Filters like ND, GND and CPL will help you to get the best result.
5. Try to use smaller aperture opening to get the best DOF
6. Consider your foreground and background. Make it as clean as possible to avoid distraction.
7. Take a few test shot to get the best reading from your camera. (check for any under/ overexposed area so you can re-setting your camera)
8. Try to shoot in RAW to get the best result. (that is what i always do!)

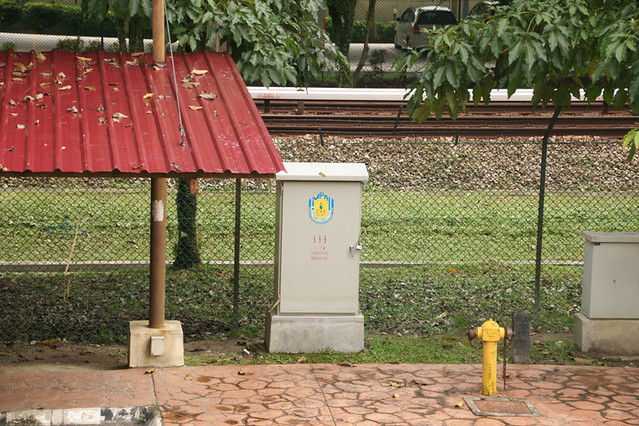
 Generally, I think the sharpness of this lens is quite acceptable for each focal length.
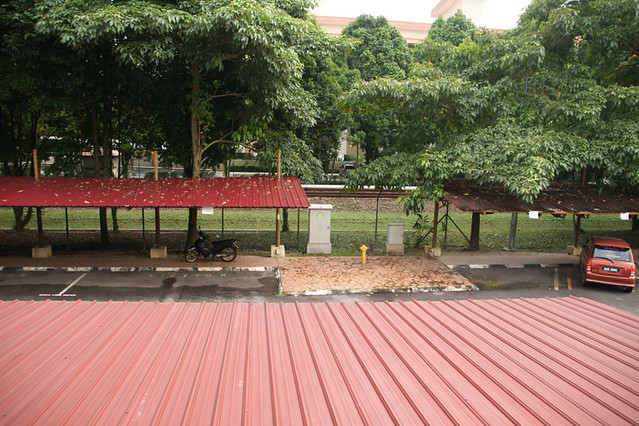

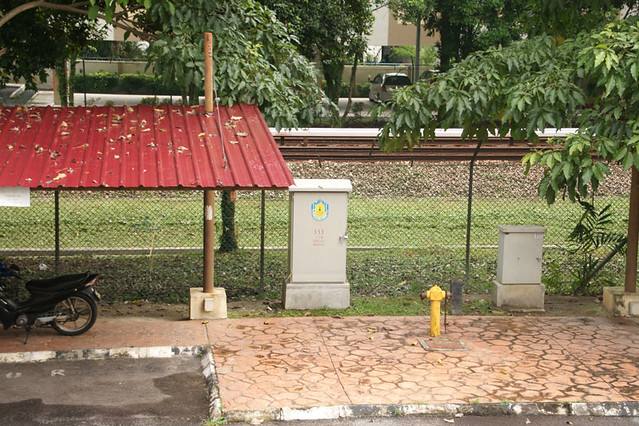
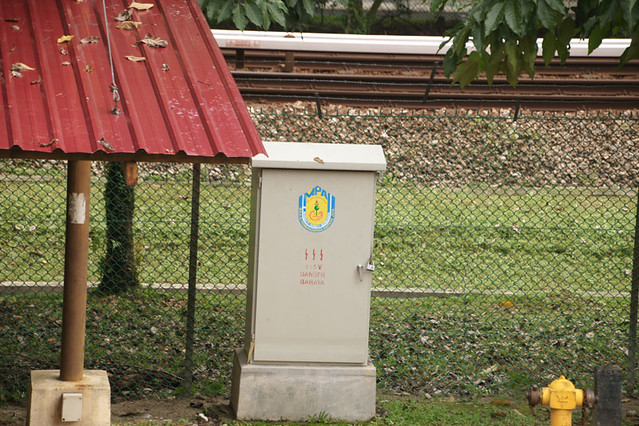
 The sharpness is well maintained although there might be some motion blur cause by camera shake since I’m not using tripod

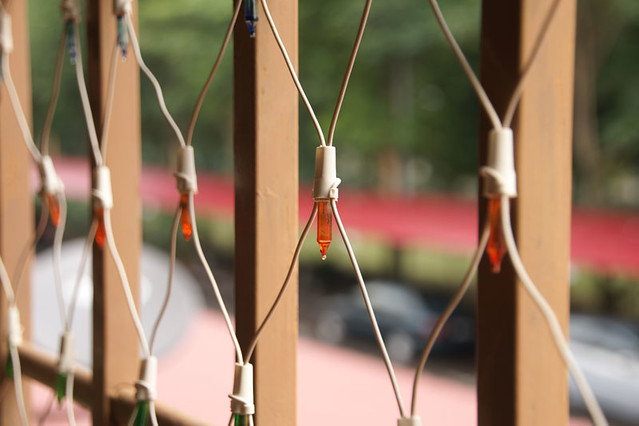
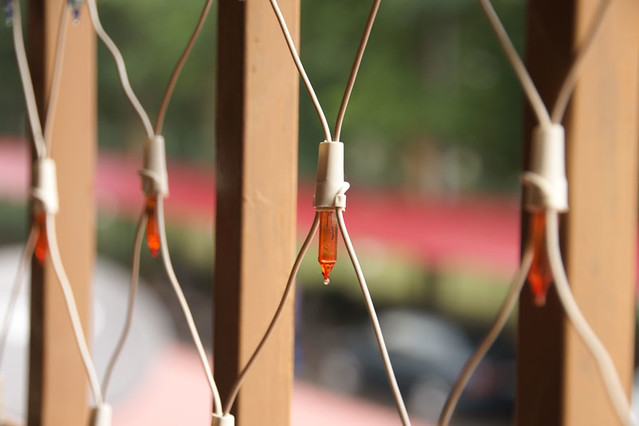
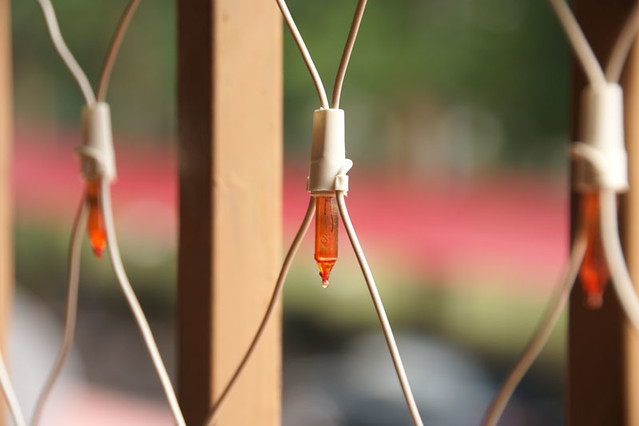

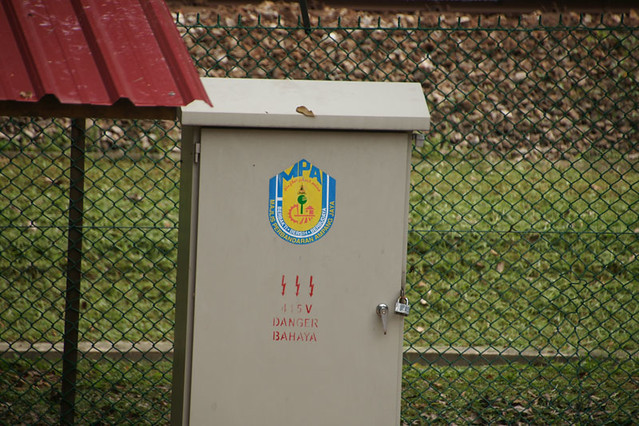
 Bokeh generated was quite ok. Please beware the effect of bokeh might vary since the factor of you foreground and background need to be considered. For my case, my background was quite far from the subject, so in theory, the bokeh should be easily obtained.
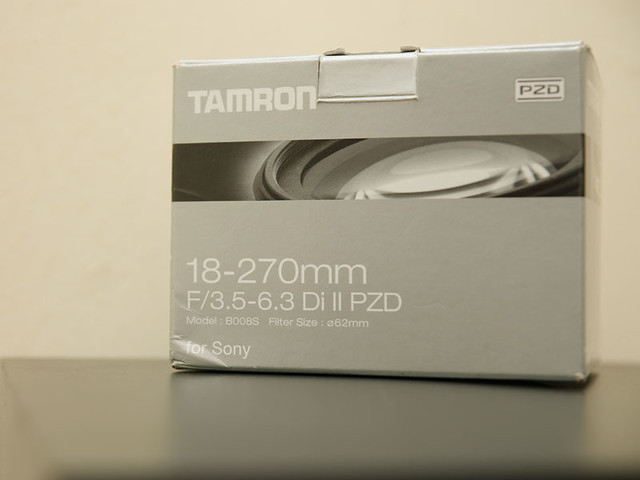
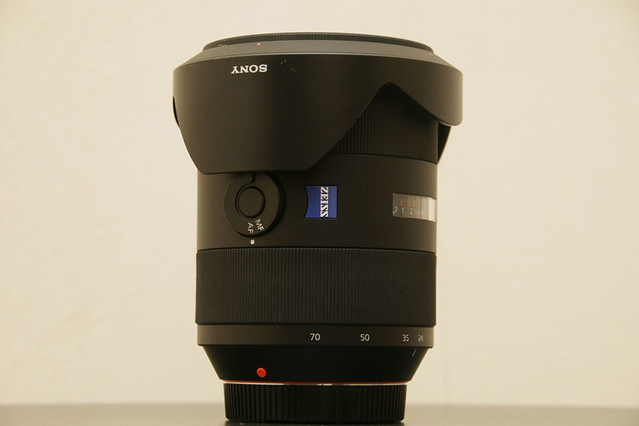
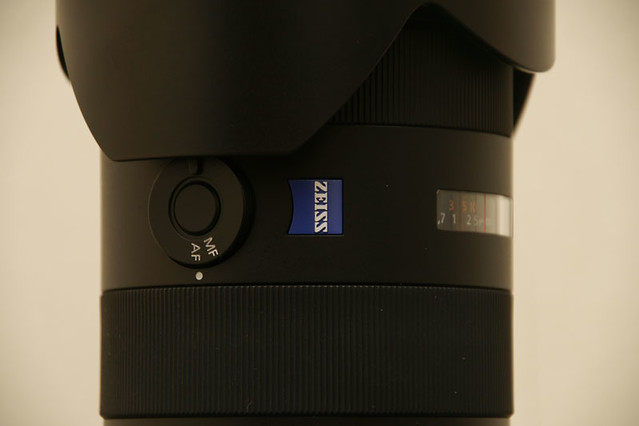
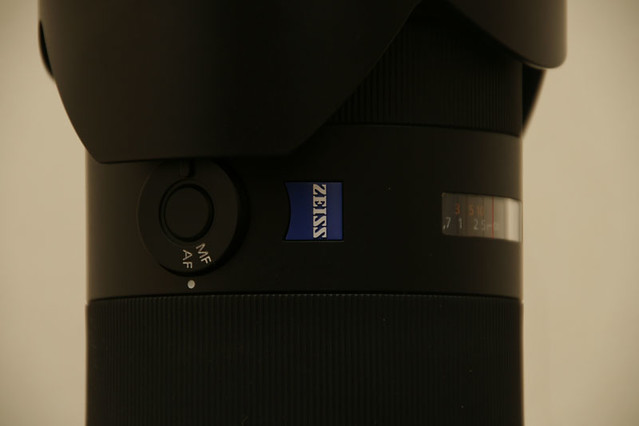
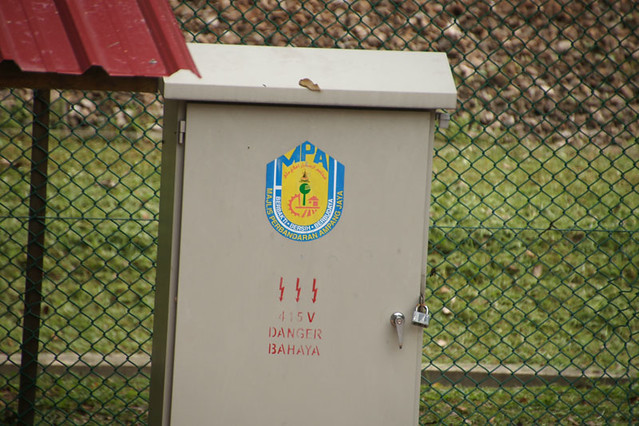
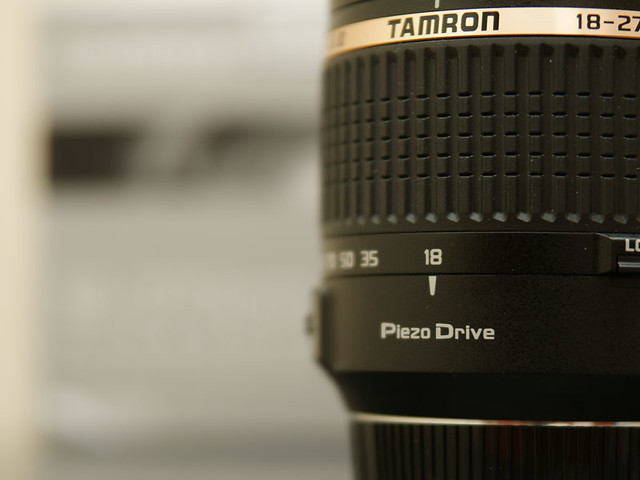 While ‘Di’ is easily identified as digital, this new Tamron also bring ‘PZD’ tag with it. What is PZD? PZD stands for Piezo Drive; a newly developed motor design to give a smooth focusing operation compared to screw-driven motor used in previous version of lenses. I can give credit to this Piezo Drive because it was quite fast and silent too, although in low light condition, the lens struggle a bit to lock the subject (and it was expected). This lens didn’t come along with Vibration Compensation (VC) since Sony/ Minolta has their in-body stabilizer unlike Canon and Nikon.
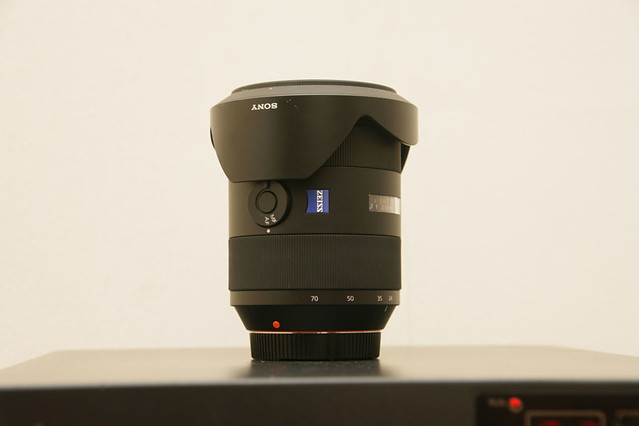
 What’s in the box; the lens, petal hood and documents


